
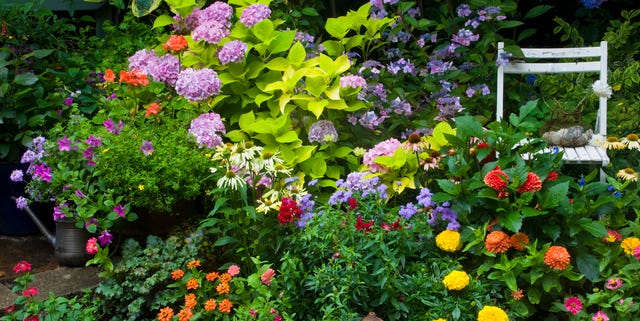
Daylily is a well-known flowering plant. It is a member of the Hemerocallidoideae in the genus Hemerocallis. Gardeners have been breeding different species of daylilies for many decades, even though it doesn't look much like a lily. Daylilies are an excellent choice for any garden. These flowers are also great for cutting.
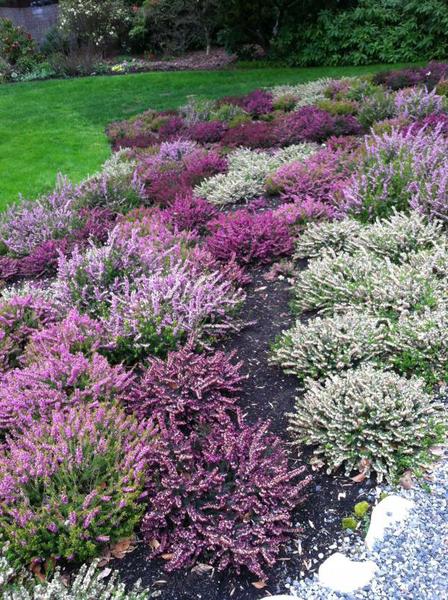
Divide daylily leaves in the autumn. To divide the plant first soak the roots with water to get rid of most of the soil. When you separate the roots, use a garden fork to gently whack the root mass. Before you dig, ensure that you inspect the roots for weed roots. Once you have separated the daylily's roots, plant the clumps in the soil. Mulch them after transplanting to keep the soil moist and prevent weeds.
Prepare the soil before planting daylilies. Ideally, the soil should be loose enough to grow roots up to 18 inches deep. It should also be free from stones and other debris. If soil is sandy then compost can be a good amendment. It can retain moisture and lighten clay soils. This will encourage roots development. After the plants are established in their new homes, you can place them wherever you like.
Daylilies must be planted 12 inches apart and in well-drained soil. You may use a container, pot, or tray depending on what variety you have. Once the roots have been transplanted, water them regularly until they become established. They will require three to 4 years to bloom. Daylilies make a great choice for traders if you are in the business to trade.
Daylilies in Minnesota do well when planted at a suitable time. Daylilies should be deadheaded after being planted. After a daylily has bloomed, you can take off the stem and divide it into two plants. It is important to divide daylily plants with care. While a division may seem like an unnecessary task, it is necessary to avoid damage to the plant's roots.
For daylilies to be planted, you will need a shovel or dig an area where the crown will be placed. The soil should be placed so that the crown of daylily is below the ground. The plant's crown should be below the soil surface. Place the tubers in the hole. For best results, divide the roots into individual pieces. Alternatively, you can make a clump of daylilies.
Once the daylilies have been divided into two parts, you can begin to dig them. You will need to take care not to overdo the planting. After you have dug soil, you'll need to break it into smaller pieces. The roots should then be divided into two separate groups. You should then plant the roots of the daylilies one at a time, making sure to cut any damaged roots and smooth the soil surrounding them.
FAQ
How do I know what type of soil I have?
The dirt's color can tell you what it is. Darker soils contain more organic matter than lighter-colored ones. You can also do soil tests. These tests measure the number of nutrients present in the soil.
When is the best month to plant a vegetable garden in my area?
The best time to plant vegetables is from April through June. This is when the soil is warmest and plants grow fastest. If you live in colder climates, you might wait until July or Aug.
What vegetables are good to grow together?
It is possible to grow tomatoes and peppers together, as they like the same soil conditions and temperatures. They work well together as tomatoes need heat to ripen and peppers need lower temperatures for optimal flavor. Start seeds indoors approximately six weeks prior to planting. Once the weather gets warmer, transplant your pepper and tomato plants outdoors.
Statistics
- According to the National Gardening Association, the average family with a garden spends $70 on their crops—but they grow an estimated $600 worth of veggies! - blog.nationwide.com
- Today, 80 percent of all corn grown in North America is from GMO seed that is planted and sprayed with Roundup. - parkseed.com
- Most tomatoes and peppers will take 6-8 weeks to reach transplant size so plan according to your climate! - ufseeds.com
- It will likely be ready if a seedling has between 3 and 4 true leaves. (gilmour.com)
External Links
How To
How to grow basil
Basil is one herb you can use to make many different dishes in your kitchen. It's great for flavoring dishes, adding flavor to soups, sauces, salads, pasta, and even desserts. Here are some tips for growing basil indoors at home.
-
Be careful about where you place it. Basil is an annual plant that will only survive one season if placed in the correct place. It likes full sun but can tolerate partial shade. If you plan to grow it outside, make sure there is good air circulation.
-
Plant the seeds. Basil seeds should be planted at least two weeks before the last frost date. You should sow the seeds at a depth of 1/2 inch in small pots. Place the pots in clear plastic wrap. Keep them out of direct sunlight. Germination usually takes about 10 days. After they have germinated move them into a cool, shaded place where the temperature stays around 70 degrees Fahrenheit.
-
Once they are large enough to handle, transfer the seedlings. Place the seedlings in larger containers and remove the plastic wrap. Fill each container with potting mix and add some gravel or pebbles to help drain excess moisture. You can add more potting mix if necessary. Place the containers outside in direct light or in a sunny area. Keep the plants hydrated to avoid wilting.
-
After the danger of frost has passed, apply a thick layer of mulch over the top of the plants. This will prevent them from frost damage and help to reduce water loss.
-
Regularly water the plants. Basil needs to be hydrated regularly to ensure its survival. To determine how much water your plants require, use a rain gauge. A timer can be used to shut off the irrigation system when it is dry.
-
Make sure to pick basil right when it is at its peak. You can encourage bushier growth by picking the leaves more often.
-
The leaves can be dried on paper towels or screens. Store dried leaves in glass jars or bags in the refrigerator.